
You should caulk your trim if you want to keep it safe and sealed well. It’s not hard, but some preparation and tools are necessary. If you’re looking for tips on caulking like a professional, Cash Offer Please has the DIY guide for you! Before starting work, clean any old caulk or dirt from around and between cracks with warm water or mineral spirits on steel wool. Choose quality products such as latex acrylic caulk with silicone additives that will provide flexibility along with adhesion strength — this will help make a better seal over time.
For spreading the bead of caulker evenly into corners use painter’s tape; just ensure both sides are covered equally when pulling off the tape later in order to guarantee proper sealing edges all-around regardless of what kind of weather comes in through unsealed gaps in windowsills and doorframes!
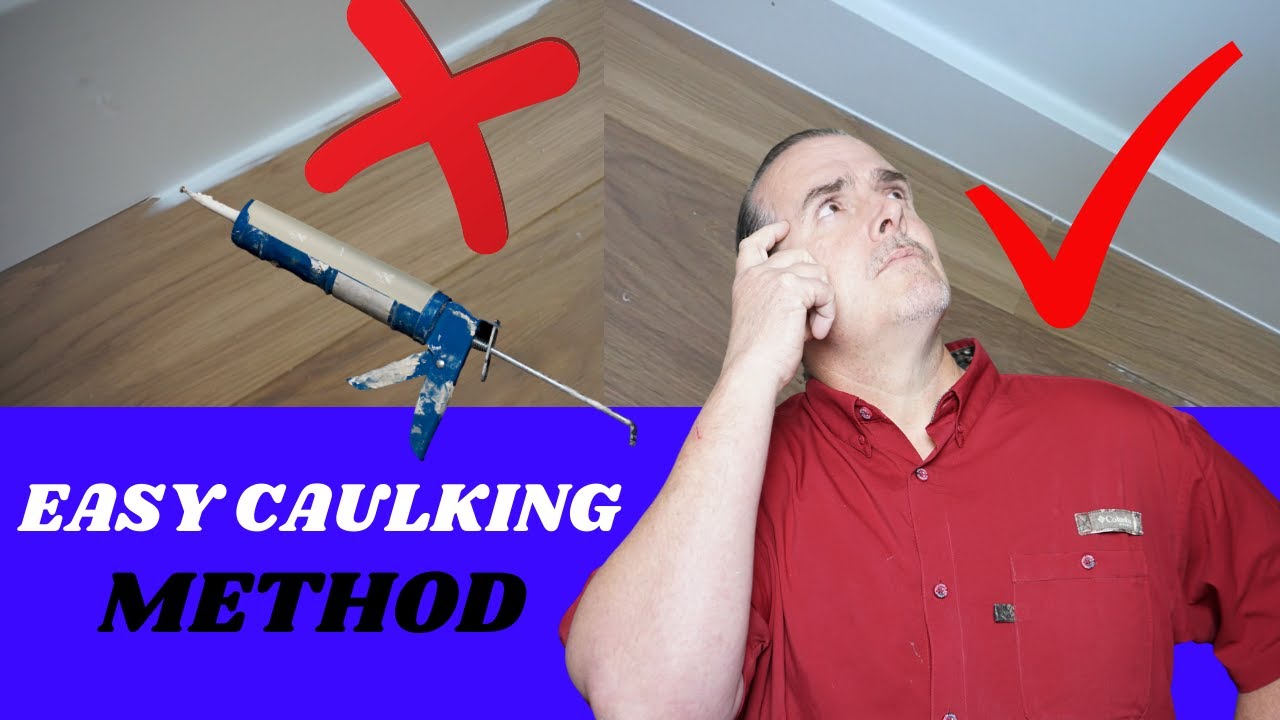
Understanding the Importance of Caulking Trim
You understand the importance of caulking trim and the impact it can have on sealing gaps around windows or doors, creating an overall neat aesthetic for your property, preventing air leaks from entering, making sure that moisture doesn’t get up through cracks between walls and floors as well as providing an extra layer of sound insulation. You also know how applying caulk properly makes cleaning easier down the line — keeping dirt buildup at bay when regularly maintained. Finally investing in caulking trim ensures you’ll enjoy safe energy efficiency now – and years into the future with its eye-catching appearance!
The Role of Caulk in Trim Work
You play an important role in trim work, providing a seal that locks out moisture and keeps the edges of your projects looking neat and professional. Whether you are installing window or door trim or decorative details such as wainscoting, caulk is essential to make sure paint stays in place and all pieces remain securely together. Caulking provides flexibility by allowing it to expand with temperature changes which help create extra security for both interior and exterior applications – no matter what type of detailing you choose for your project, don’t leave any gaps uncaulked!
Why Should You Prioritize Caulking Your Trim
You should prioritize caulk for your trim to keep it neat and clean. It seals the gaps between surfaces, preventing moisture from seeping in which can cause mold or mildew growth as well as damage to your home. In addition, caulking helps prevent air leaks that reduce energy efficiency. Without proper caulk application, these problems may become unavoidable if not addressed quickly – so don’t wait until it’s too late! Caulk also adds a beautiful finishing touch to any space by giving it a seamless look while still allowing movement when necessary due to joint expansion and contraction. If you’re aiming for elegance with minimal effort then let caulk be one of the tools at your disposal: choose professional-grade materials made specifically for areas where increased adhesiveness matters most – like around window frames or door openings – but make sure there isn’t existing paint on those surfaces before applying new sealant! That way, no matter what environment or climate conditions exist outside — rainstorms, heat waves etc.—you’ll remain confident knowing that you have applied quality protection inside every nook and cranny within reach.

Call Now (805) 870-8009
Why Sell Your Home to Cash Offer Please?
- You Pay Zero Fees with us!
- Close quickly 7-28 days.
- Guaranteed Offer, no waiting.
- No repairs required, sell “AS IS”
- No appraisals or delays.
Required Tools and Materials for Caulking
You may find that caulking is a simple and effective way to fill in the gaps between your trim, walls, or other areas of your home. To complete this project successfully you will need some basic tools and materials such as caulk, screwdriver or drill bit (depending on type of material), painter’s tape (optional but recommended for precision), nozzle trimmer tool (for cutting away excess dried caulk) and a putty knife. Always read package labels carefully before using items like solvents which can be potentially dangerous if not used with caution. For professional results Cash Offer Please recommends investing in high quality caulks from trusted brands since they adhere longer than cheaper versions while also providing flexible adhesion properties which are essential for long term protection against wear & tear from environmental exposure and moisture damage.
Essential Tools for Caulking Trim
You need to caulk trim around windows, doors and bathrooms for waterproofing your home. With Cash Offer Please, you can get all the tools necessary to caulk properly – from silicone-based sealants, caulk guns and applicators. Everyone knows proper preparation is key when it comes to gaining a perfect finish; so make sure you have everything ready before beginning any caulking project in order to ensure an end result that will stay strong for years!
Other Articles You Might Enjoy:
- Little Black Bugs In House
- Termite Droppings From Ceiling
- Water Leaking Into Basement After Heavy Rain
- What Does Contingent Mean In Real Estate Terms
- What Does Homeowners Insurance Cover And Not Cover
Choosing the Right Caulk for Your Trim
You need to choose the right caulk for your trim in order to achieve a professional finish. It is essential to select one that is designed specifically for its intended application, as some caulks are not suitable for all surfaces or climates. Flexibility is an important factor when selecting an appropriate caulk; you should look for formulas that remain flexible after they cure so there won’t be any cracking due to fluctuations in humidity and temperature. Additionally, if you plan on painting over the newly-caulked trim, make sure you have chosen a paintable formula so it looks perfect!
Step-by-Step Guide on How to Apply Caulk on Trim
Caulking can be a daunting task, but with the right steps you can have perfectly sealed trim in no time! Cash Offer Please’s step-by-step guide gives you all the tips and tricks needed to master this art. Cleaning the surface area thoroughly and choosing your tool of choice – brush or gun? – are key parts of preparatory work before mixing and applying caulk without creating too much mess. This comprehensive guide covers it all, so that everyone from novice DIYers to professional contractors get perfect results when they apply calk around their home projects!
Call Now (805) 870-8009
Why Sell Your Home to Cash Offer Please?
- You Pay Zero Fees with us!
- Close quickly 7-28 days.
- Guaranteed Offer, no waiting.
- No repairs required, sell “AS IS”
- No appraisals or delays.
Preparation Steps before Applying Caulk
You need to prepare and plan for the application of caulk. Gather all necessary materials, such as masking tape, sandpaper, a utility knife or sharp scissors. Clear the area of dust and dirt with soap & water followed by wiping over it with mineral spirits using lint-free rags or sponges. Make sure you use appropriate safety equipment like gloves! Sand down any rough edges on pre-existing frames if needed before removing excess material from existing gaps around window sills/door sill trims; then apply masking tape along each side of gap for neat finish after applying the caulk. Finally select an appropriate type of caulking based on where it will be used in order to carry out its purpose effectively!
The Process of Applying Caulk on Trim
You want to improve the look of your home with a simple and cost-effective way. Cash Offer Please understands that any DIY project around the house needs careful consideration and precision for it to turn out looking its best. Before beginning, make sure you have all necessary supplies such as a steady work surface, trim scraper, sandpaper or sanding block, painter’s tape, putty knife or five-in-one tool, latex gloves (optional), rags/sponges (for wiping excess) plus adequate ventilation if required. Having closely followed all instructions provided regarding preparation of surfaces and materials; apply caulk into clean joint gaps with smooth even pressure while moving steadily along until complete – this will ensure an expertly finished job!
Common Mistakes to Avoid when Caulking Trim
You should be aware of the potential pitfalls when it comes to caulking trim for your home improvement project. It is important that you research and select a suitable sealant for your needs, as well as avoid applying too much caulk in one area or creating an uneven bead. By taking care with the application process, Cash Offer Please products can last longer and provide better results over time.
Potential Pitfalls in the Caulking Process
You may be looking for a way to protect your trim from weather or water damage and caulking is an excellent solution. However, in order to get the best results it’s important that you are aware of some potential pitfalls. Improper application, inadequate surface preparation and incorrect product selection can all lead to failed seals that will need replacing sooner than expected. To avoid these issues and ensure long-lasting protection for your Trim, always remember to take proper care when selecting materials and applying caulk; Cash Offer Please has years of experience providing professional caulking services so you don’t have any worries about ineffective installation methods or inappropriate tools being used on your project.
Other Articles You Might Enjoy:
- What Does Homeowners Insurance Not Cover
- What Is A Picture Window
- Brick Painting Ideas
- Build On Your Own Land
- Cheapest Way To Clear Land
Tips for Perfecting Your Caulking Technique
When it comes to perfecting your caulking technique, you have many options. From products like waterproof silicone that adhere easily to various surfaces, to a quick-drying paintable latex caulk for sealing up trim inside or out – knowing what kind of product is needed is just one part of learning how to caulk correctly. In addition, getting a good seal means establishing an appropriate bead size (not too small), applying steady pressure while dragging the gun along with even strokes at an angle across gaps and joints in order ensure there are no clusters or voids when finished. Finally, cleaning off any excess material as soon as possible before it dries will help keep those lines straight and tight!
Maintaining and Repairing Caulked Trim
Maintaining and repairing caulked trim is an integral part of efficient home maintenance. Whether one is dealing with a new installation of caulk, or addressing existing repairs, Cash Offer Please has the know-how to complete the job correctly and efficiently! Their experienced staff understands that replacing failing caulk can prevent more expensive repair projects down the road by filling gaps in siding around windows, doors, gutters or any other places where weatherproofing may be needed. From basic crack sealing all the way up to full window replacements – their team can handle it expertly!
How to Prolong the Life of Your Caulked Trim
You should be essential for any homeowner who wants to maintain a beautiful curb appeal in order to prolong the life of your caulk trim. To do this, you must ensure proper preparation and installation techniques as well as regular maintenance care throughout its lifespan. Before applying caulking around windows, doors or other openings it is important that you remove all dirt, dust and loose paint from the surface where adhesion will take place. Once ready, begin with freshly cut nozzle ends at an angle which allows for consistent “beads” along each edge before smoothing them out with a damp rag. To further extend the longevity of these surfaces seal exposed wood by painting or staining periodically; this prevents gaps created when changes in temperature cause expansion and contraction near those edges leading up to cracks being filled over time due to moisture buildup if left untreated.
Simple Steps for Repairing Damaged Caulk
If you find yourself in a sticky situation when caulk gets damaged by the elements or wear-and-tear over time, don’t worry; repairing caulk can be easy! Begin by removing as much old caulk material as possible using a razor blade scraper or other tool that won’t damage painted surfaces. Then clean the area thoroughly with warm water mixed with detergent and be sure to dry it completely before applying fresh caulking. Finally add another layer of product where needed while smoothing out any excesses until desired results are achieved – resulting in perfect repairs each time!